QuickStart
This quickstart will show you how to integrate your CRM with the OpenGTM application in approximately 5 minutes. By the end, you will have synced your data with our platform and kicked off your ML analysis and predictions. Keep in mind that dashboards will usually populate in 5 to 10 minutes, but can take up to 30 minutes. Follow along on the integrations tab of OpenGTM. Don't have an account? Sign up here.
1. Connect your CRM
Select your CRM from the available integrations. Click configure and next. Click the connect button and log into your CRM account. This is simple and very secure. OpenGTM’s SOC2 Type 2, HIPPA, GDPR, and CJIS compliant authentication manager securely stores your authentication tokens, so you can rest assured that your data is secure and you are in control. Once done click next to continue.
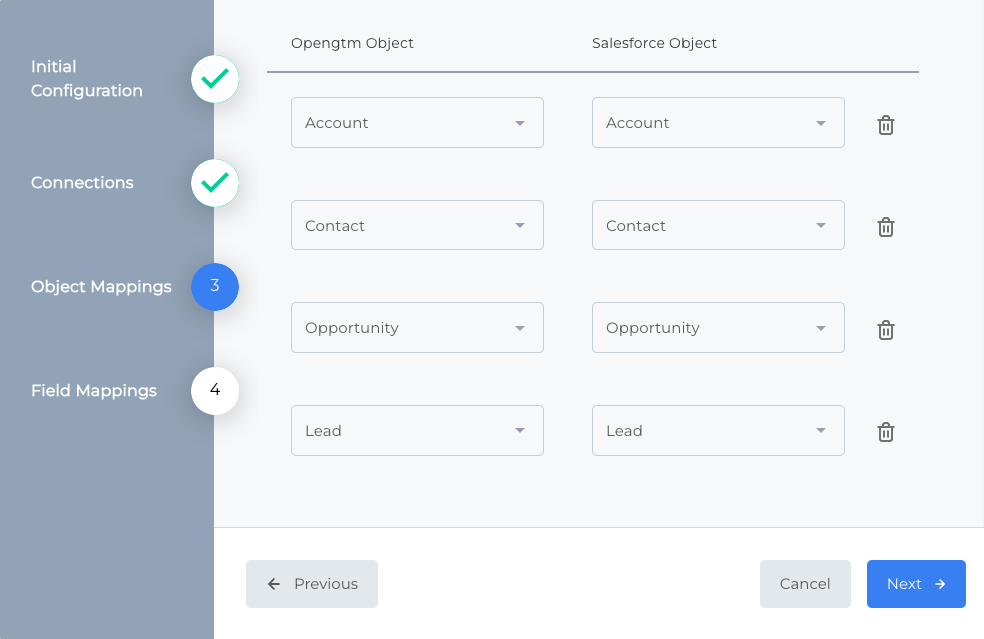
2. Map your CRM objects to OpenGTM objects
Map your CRM objects to OpenGTM objects. More often that not you will just accept the defaults, but if you use a custom object for Deals you will find your custom object in dropdown where you can replace the default. This allows OpenGTM to support all sorts of schemas. Once done click next to continue.
3. Map your CRM fields to OpenGTM fields
Map your CRM fields to OpenGTM fields for each object. This is where you will spend most of your time. It is here where you get control over the data used to generate customer personas and predictions.
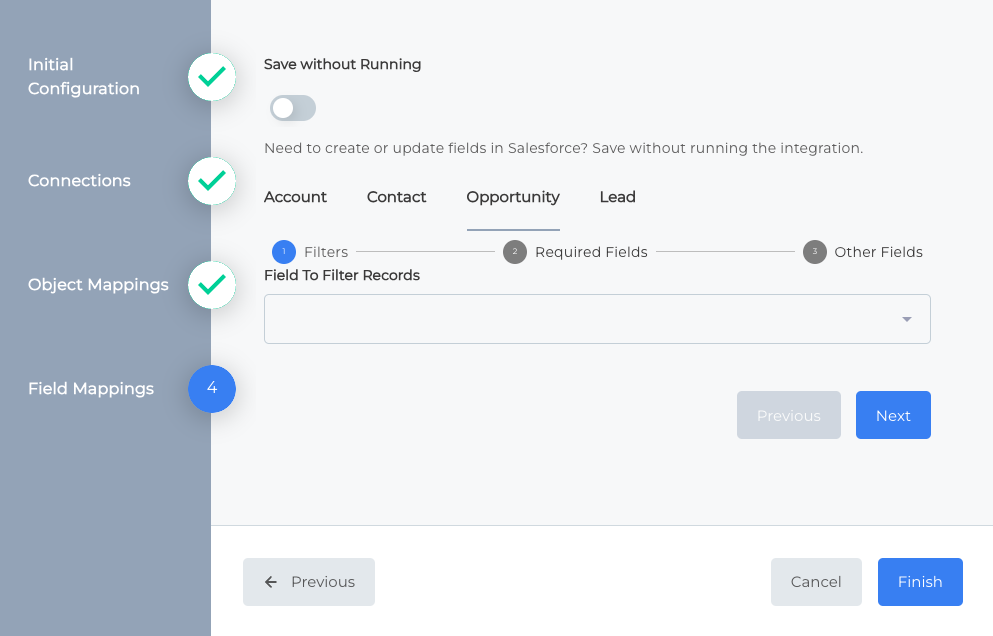
Map a Filter Field
Using a field with the value of true or false, you can filter what records you sync to OpenGTM. Records where the value of the field mapped is true are synced. If you do not map a field to filter records then all records for that object will be synced. This may cause an error if the number of records for the lead and/or opportunity object exceeds the team's record storage limit (see Manage Team for more details). The account and contact objects will only sync records related to opportunity records that sync to OpenGTM.
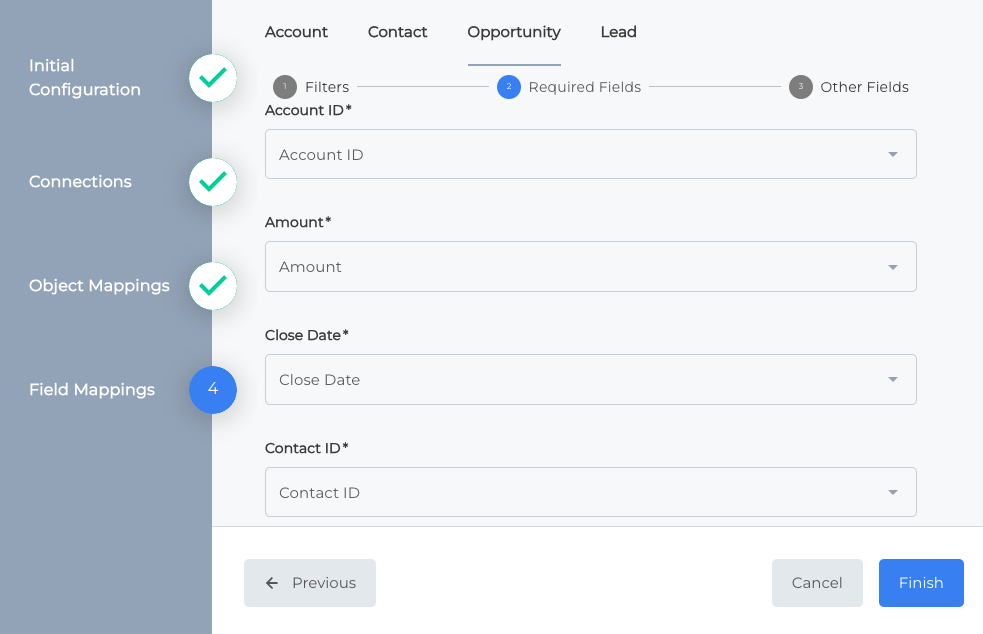
Map to required OpenGTM fields
Review the standard fields mapped by default and replace with the fields you are using. For example, if you don’t use the standard industry field then map OpenGTM’s industry field to your custom industry field.
All of the OpenGTM fields should have a CRM field mapped to them. The only exception is the optional Other Fields field.
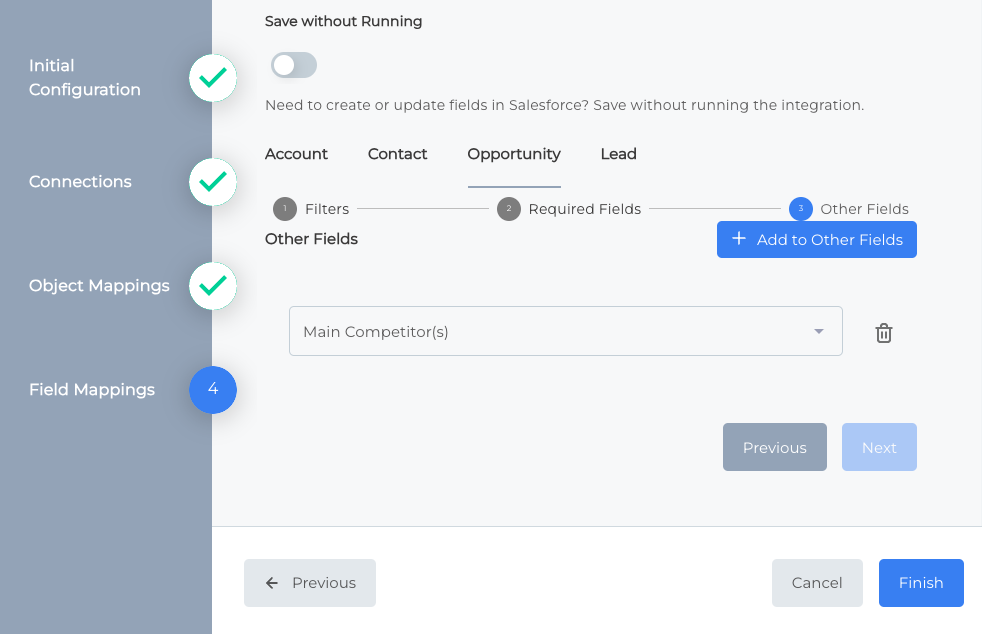
Map any number of other fields
Using the add field button, add a field mapping and set the OpenGTM field to Other Fields. You can then set any CRM field available on that object. You can continue to repeat this process until you have all the fields for each object that you would like to use to generate customer personas and inform predictions.
Do not map any CRM fields to the OpenGTM Other Fields field that likely have a unique value for every record. Some examples would include IDs, phone numbers, person and entity names, emails, and street addresses.
Maximize the data you already have by creating formula fields for things like domain suffix and area code. These data points start to tell an interesting story over time when mapped to the OpenGTM Other Fields field.

That’s it! You did it! Now your data will sync to OpenGTM every 30 minutes, so that you are working with the most up to date customer personas and predictions. Keep in mind that dashboards will usually populate in 5 to 10 minutes, but can take up to 30 minutes.
If you want to populate dashboards for your Sales and Customer Success teams just add them as users on the Manage Team page and the data sync will get them all setup automatically on the next scheduled sync.